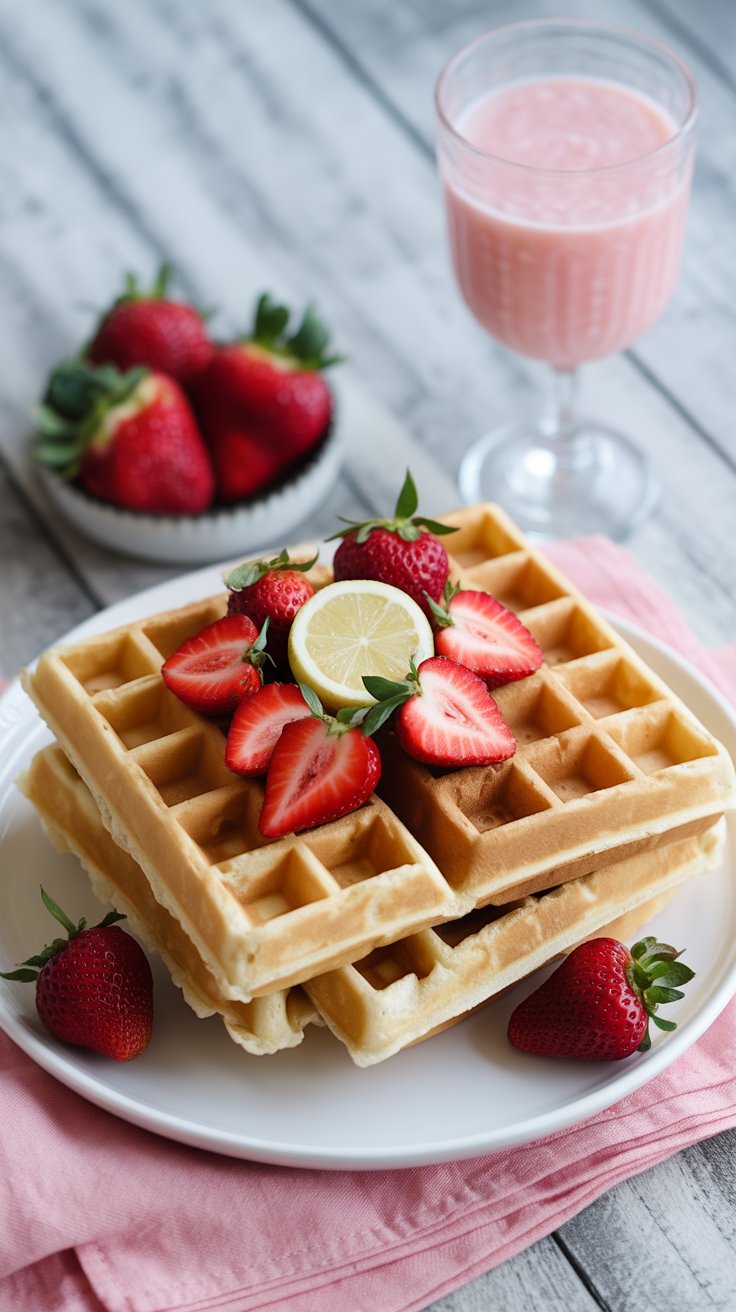
Light and Crispy Waffles
Light and Crispy Waffles are the kind you make when you want a simple, golden breakfast with a tender center and edges that actually crunch. Nothing fancy or fussy. Just a reliable batter, a hot iron, and a few small tricks that help you get that airy lift and crisp bite. Weekend-friendly, weekday-doable. The recipe below walks you through it.
Ingredients for this Light and Crispy Waffles
- 1 1/2 cups (190 g) all-purpose flour
- 1/2 cup (60 g) cornstarch
- 2 tablespoons granulated sugar
- 2 teaspoons baking powder
- 1/2 teaspoon baking soda
- 3/4 teaspoon fine salt
- 2 large eggs, separated
- 1 3/4 cups buttermilk (or 1 1/4 cups milk + 1/2 cup plain yogurt)
- 1/3 cup neutral oil (canola or grapeseed)
- 2 tablespoons melted butter, cooled (for flavor)
- 1 teaspoon vanilla extract
- Neutral oil or spray for the waffle iron
Instructions
- Preheat your waffle iron to medium-high. If you plan to keep waffles warm, set your oven to 200°F and place a wire rack on a baking sheet inside. That rack keeps them crisp.
- In a large bowl, whisk the flour, cornstarch, sugar, baking powder, baking soda, and salt.
- In a second bowl, whisk the egg yolks, buttermilk, oil, melted butter, and vanilla until smooth.
- Pour the wet mixture into the dry. Whisk just until you don’t see dry streaks. A few small lumps are fine. Let the batter rest 5 to 10 minutes. It thickens slightly and relaxes the gluten, which helps with that light, crisp texture.
- Meanwhile, in a clean bowl, beat the egg whites to soft peaks. They should look glossy, stand up, then slump over a bit.
- Fold the whites gently into the batter in 2 additions. Use a spatula and light strokes. Don’t overmix. You want some airy streaks left.
- Lightly oil the waffle plates. Add batter according to your iron’s capacity. For a standard iron, that’s usually about 1/2 to 2/3 cup per waffle; for Belgian, closer to 3/4 to 1 cup. Close the lid and cook until deeply golden and crisp, 3 to 5 minutes, depending on your machine.
- Transfer finished waffles to the warm oven, directly on the rack. Don’t stack them. Steam is the enemy of crisp.
- Repeat with remaining batter. Give it a gentle stir between batches if it separates a bit. Then serve with whatever you like: fruit, butter, maple syrup, a swipe of jam, or just a dusting of sugar. I often make a double batch on Sunday so weekday me can grab one from the freezer. Future me says thanks.
Cook and Prep Times
- Prep time: 15 minutes (including resting and whipping the whites)
- Cook time: 12 to 20 minutes total, depending on your waffle iron and batch size
- Total time: About 30 to 35 minutes
- Yield: 8 standard waffles or 4 large Belgian waffles
Nutritional information
Approximate per standard waffle (1 of 8), without toppings:
- Calories: 260
- Fat: 12 g
- Saturated Fat: 3.5 g
- Carbohydrates: 31 g
- Fiber: 1 g
- Sugars: 5 g
- Protein: 6 g
- Sodium: 420 mg
Numbers are estimates and will vary with brand of ingredients and waffle size.
Frequently asked questions
How do I keep waffles crispy after they’re cooked?
Use a hot iron, cook until deeply golden, and move each waffle to a 200°F oven on a wire rack. Don’t stack them. If you’re cooking for a crowd, keep batches in the oven up to 30 minutes and they’ll stay crisp.
Can I make the batter ahead?
The best approach is to mix the dry ingredients and wet ingredients separately the night before. Store both covered in the fridge. In the morning, combine them, rest 5 minutes, then fold in freshly whipped egg whites. If you must refrigerate fully mixed batter, it’ll deflate a bit. You can revive it with a teaspoon of baking powder and a splash of milk before cooking.
Do these freeze well?
Let waffles cool completely, then freeze in a single layer until firm. Transfer to a freezer bag, press out excess air, and store up to 2 months. Reheat straight from frozen in a toaster or a 350°F oven for 5 to 8 minutes until hot and crisp.

Light and Crispy Waffles
1
raciones15
minutes12
minutes260
kcalLight and Crispy Waffles are the kind you make when you want a simple, golden breakfast with a tender center and edges that actually crunch. Nothing fancy or fussy. Just a reliable batter, a hot iron, and a few small tricks that help you get that airy lift and crisp bite. Weekend-friendly, weekday-doable. The recipe below walks you through it.
Ingredients
1 1/2 cups (190 g) all-purpose flour
1/2 cup (60 g) cornstarch
2 tablespoons granulated sugar
2 teaspoons baking powder
1/2 teaspoon baking soda
3/4 teaspoon fine salt
2 large eggs, separated
1 3/4 cups buttermilk (or 1 1/4 cups milk + 1/2 cup plain yogurt)
1/3 cup neutral oil (canola or grapeseed)
2 tablespoons melted butter, cooled (for flavor)
1 teaspoon vanilla extract
Neutral oil or spray for the waffle iron
Directions
- Preheat your waffle iron to medium-high. If you plan to keep waffles warm, set your oven to 200°F and place a wire rack on a baking sheet inside. That rack keeps them crisp.
- In a large bowl, whisk the flour, cornstarch, sugar, baking powder, baking soda, and salt.
- In a second bowl, whisk the egg yolks, buttermilk, oil, melted butter, and vanilla until smooth.
- Pour the wet mixture into the dry. Whisk just until you don’t see dry streaks. A few small lumps are fine. Let the batter rest 5 to 10 minutes. It thickens slightly and relaxes the gluten, which helps with that light, crisp texture.
- Meanwhile, in a clean bowl, beat the egg whites to soft peaks. They should look glossy, stand up, then slump over a bit.
- Fold the whites gently into the batter in 2 additions. Use a spatula and light strokes. Don’t overmix. You want some airy streaks left.
- Lightly oil the waffle plates. Add batter according to your iron’s capacity. For a standard iron, that’s usually about 1/2 to 2/3 cup per waffle; for Belgian, closer to 3/4 to 1 cup. Close the lid and cook until deeply golden and crisp, 3 to 5 minutes, depending on your machine.
- Transfer finished waffles to the warm oven, directly on the rack. Don’t stack them. Steam is the enemy of crisp.
- Repeat with remaining batter. Give it a gentle stir between batches if it separates a bit. Then serve with whatever you like: fruit, butter, maple syrup, a swipe of jam, or just a dusting of sugar. I often make a double batch on Sunday so weekday me can grab one from the freezer. Future me says thanks.