Cheesy Garlic Bread
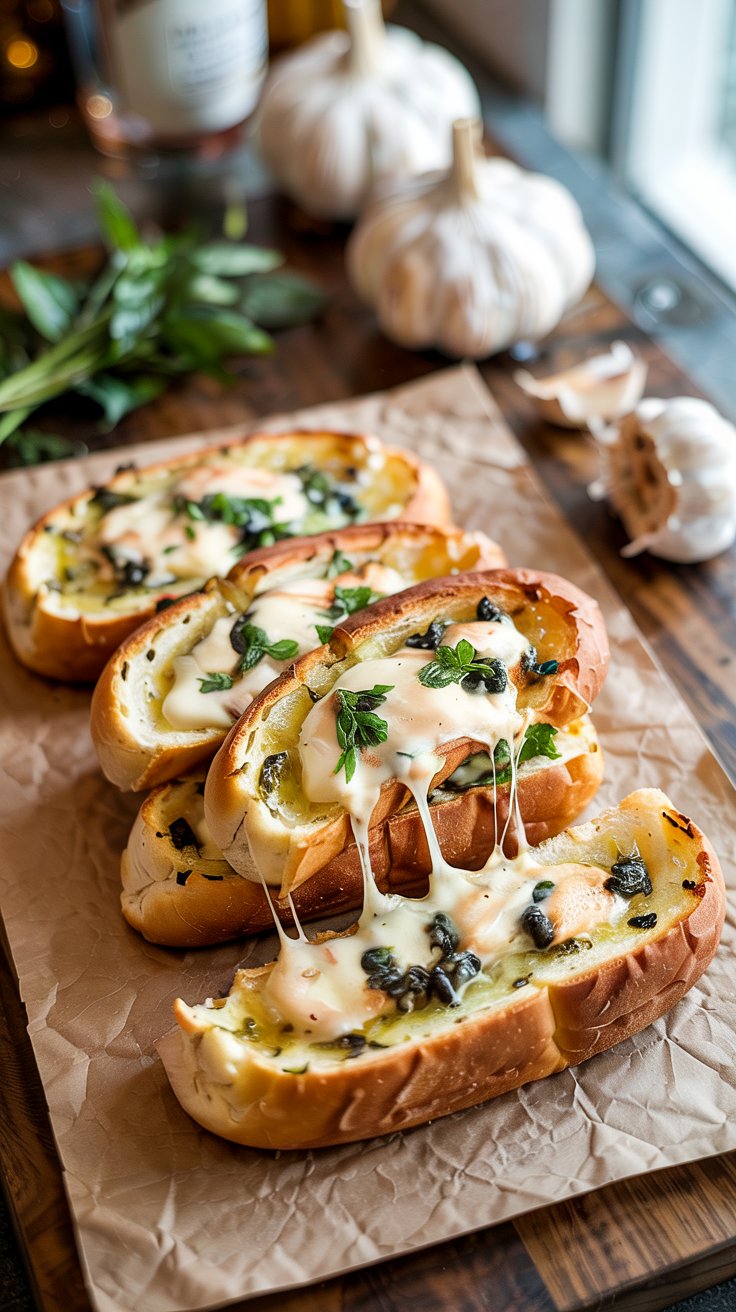
Cheesy Garlic Bread is the kind of side that quietly makes a meal feel complete. Warm, fragrant, and a little stretchy with melted cheese, it is simple to pull together and even easier to share. Below you will find a straightforward recipe that gives you exactly what you expect from good garlic bread, crisp edges, a soft middle, plenty of garlic, and a balanced mix of cheeses. Nothing fussy, just what works.
Ingredients for this Cheesy Garlic Bread
- 1 large French or Italian loaf, about 450 g
- 6 tbsp unsalted butter, softened
- 3 to 4 garlic cloves, very finely minced, or 1 tsp garlic powder
- 2 tbsp fresh parsley, chopped, plus more for finishing
- 1/2 tsp kosher salt, adjust to taste
- Black pepper, a few twists
- 1/4 tsp red pepper flakes, optional for a little warmth
- 1.5 cups shredded low moisture mozzarella
- 1/2 cup freshly grated Parmesan
- 1/2 cup shredded provolone or mild cheddar, optional
- 1 to 2 tsp olive oil, optional, for crispier edges
- Optional finishers: extra parsley or basil, a pinch of lemon zest, marinara for dipping
Instructions
- Heat the oven to 220°C, 425°F. Line a baking sheet with foil for easy cleanup.
- In a small bowl, mix the softened butter with garlic, parsley, salt, black pepper, and red pepper flakes. If you like a tiny lift, add a whisper of lemon zest. It will not taste lemony, just bright.
- Slice the loaf in half lengthwise and place cut sides up on the baking sheet. If your bread is very soft, lightly brush the cut sides with a little olive oil.
- Spread the garlic butter evenly from end to end. Go to the edges, that is where the magic crisp happens.
- Toss the cheeses together, then sprinkle evenly over both halves. Leave a thin border so the cheese does not slide off while baking.
- Bake 8 to 10 minutes, until the cheese is fully melted and the edges start to turn golden. For extra color, switch to the broiler for 1 to 2 minutes, watching closely. It goes from perfect to too dark quickly.
- Let it rest 2 to 3 minutes. Sprinkle with a little more parsley, then slice into 12 pieces. Serve warm, ideally with a simple salad or a bowl of marinara. It smells like a tiny pizzeria moved into your kitchen, in the best way.
Make ahead tip: assemble the bread up to the cheese step and refrigerate, tightly wrapped, for up to 1 day. Bake just before serving.
Cook and Prep Times
- Prep time: 10 minutes
- Cook time: 10 to 12 minutes
- Total time: about 20 to 22 minutes
- Yield: about 12 slices
- Storage: cool, then wrap and refrigerate up to 3 days
- Reheat: 180°C, 350°F for 6 to 8 minutes, or air fryer at 175°C, 350°F for 3 to 5 minutes
Nutritional information
Approximate per slice, 1 of 12, using mozzarella and Parmesan as listed and a standard loaf:
- Calories: ~250
- Fat: ~14 g
- Carbohydrates: ~21 g
- Protein: ~11 g
- Sodium: ~470 mg
Numbers will vary based on bread size, cheese brand, and how generous you are with the butter, no judgment.
Frequently asked questions
Can I use garlic powder instead of fresh garlic?
Use about 1 teaspoon garlic powder in place of the fresh cloves. It gives a round, mellow garlic flavor, less sharp than fresh. If you love a big garlic hit, use 1.5 teaspoons, then taste the butter mixture and adjust the salt.
How do I keep the bread from getting soggy?
Use a sturdy loaf with a good crust. Do not overdo the butter, spread it in a thin, even layer. Bake on a metal sheet, not glass. If your bread is very soft, pre-toast the cut sides in the oven for 3 minutes before you add the butter and cheese. And once it is baked, do not cover it tightly while hot, steam softens the crust.
Can I freeze Cheesy Garlic Bread?
Assemble the bread with butter and cheese, then freeze unbaked on a tray until firm. Wrap well. Bake from frozen at 200°C, 400°F for 12 to 15 minutes, then broil briefly if you like extra color. You can also freeze leftovers. Reheat in the oven or air fryer to bring back the crisp.

Cheesy Garlic Bread
Ingredients
- 1 large French or Italian loaf, about 450 g
- 6 tbsp unsalted butter, softened
- 3 to 4 garlic cloves, very finely minced, or 1 tsp garlic powder
- 2 tbsp fresh parsley, chopped, plus more for finishing
- 1/2 tsp kosher salt, adjust to taste
- Black pepper, a few twists
- 1/4 tsp red pepper flakes, optional for a little warmth
- 1.5 cups shredded low moisture mozzarella
- 1/2 cup freshly grated Parmesan
- 1/2 cup shredded provolone or mild cheddar, optional
- 1 to 2 tsp olive oil, optional, for crispier edges
- Optional finishers: extra parsley or basil, a pinch of lemon zest, marinara for dipping
Instructions
- Heat the oven to 220°C, 425°F. Line a baking sheet with foil for easy cleanup.
- In a small bowl, mix the softened butter with garlic, parsley, salt, black pepper, and red pepper flakes. If you like a tiny lift, add a whisper of lemon zest. It will not taste lemony, just bright.
- Slice the loaf in half lengthwise and place cut sides up on the baking sheet. If your bread is very soft, lightly brush the cut sides with a little olive oil.
- Spread the garlic butter evenly from end to end. Go to the edges, that is where the magic crisp happens.
- Toss the cheeses together, then sprinkle evenly over both halves. Leave a thin border so the cheese does not slide off while baking.
- Bake 8 to 10 minutes, until the cheese is fully melted and the edges start to turn golden. For extra color, switch to the broiler for 1 to 2 minutes, watching closely. It goes from perfect to too dark quickly.
- Let it rest 2 to 3 minutes. Sprinkle with a little more parsley, then slice into 12 pieces. Serve warm, ideally with a simple salad or a bowl of marinara. It smells like a tiny pizzeria moved into your kitchen, in the best way.